Inserting database field placeholders into a message means that the appropriate data for the member will be substituted for the field placeholder. In other words, you could select the First Name field from the field list as a salutation, and create something like:
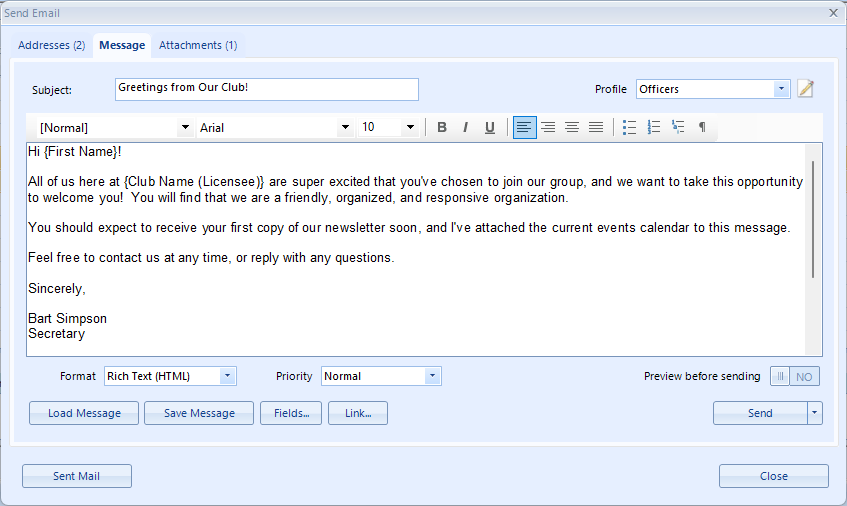
In this example, the system will substitute "John" for the first name placeholder, and the name of your organization for the Club Name placeholder, when generating the email for John.
Adding Fields to a Message
1.With the email message displayed, click the Fields button to display the field list.
2.The Field List window can be dragged outside the borders of the email window to keep it available.
3.Place the cursor in your message where you want to insert the field, then click the field in the Field List. The placeholder for that field will appear in the message.
Note: If necessary for readability, you can carefully modify the text of the placeholder. Click the placeholder text and change the text between the brackets. When you're finished, click the placeholder and make sure it auto-highlights. If it does not, then the system no longer knows it is a field placeholder and it will need to be redone.
Note: Custom fields will only appear in the Field List if they have been defined as available to be used in Email.
Note: If the only thing on a line is a field, and that field value is blank when the data is merged, that entire line will be removed. If you want to use a field that might be empty, and have the line remain even when the field is empty, there must be at least one other character of text on the line. This is controlled by the Remove Blank Lines preference.
4.If you are finished with the Fields window you can dismiss it by clicking Done. This will not affect any fields that have been used on the message.