This example demonstrates how to create a simple user-report to show name and address information.
Creating a Report
1.Choose the Reports tab from the ribbon bar.
![]()
2.If the Choose Report window opens automatically, click Cancel to close it.
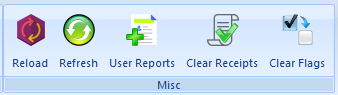
3.Click User Reports in the Misc section of the ribbon.
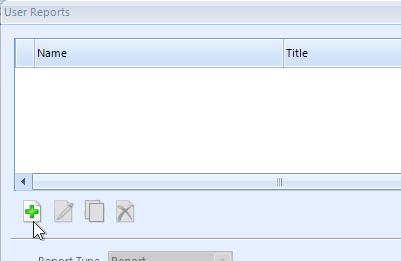
4.On the User Reports window, click Add.
5.Give the report a name and default title as shown:
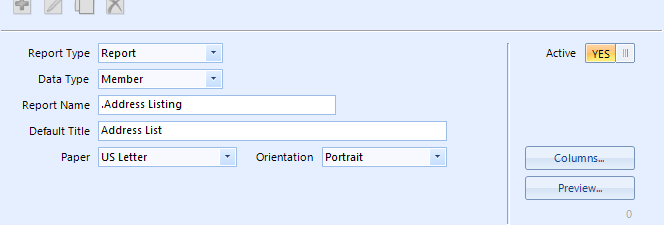
Note: We like to start user-report names with a period, so they all sort to the top of the list. So we called it ".Address Listing".
6.Now we need to add columns to the report. Click the "Columns" button.
7.On the Columns window, click Add to add the first column and fill out fields as shown.
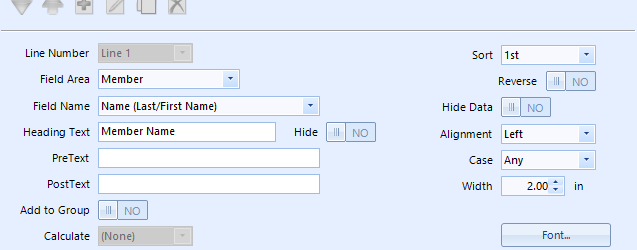
Notes: 1) We changed the "Heading Text" to simply, "Member Name" instead of keeping the default value, which is the full field name. 2) We set the Sort to "1st" so the report will sort by this column as the primary sort
8.Click Save.
9.Click Add, and fill out fields for the Status as shown below, and Save.

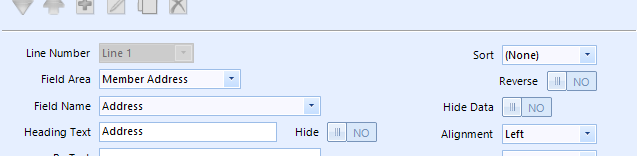
10. Now we want to add the address. Click Add, and change the Field Area to "Member Address", and add the address as shown below. Then Save.
11.Click Add, and also in the Member Address area, choose the "City/State/ZIP Code" smart field. This field automatically combines these values into one field.
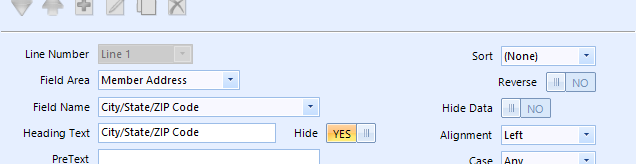
Note: Since we already have a column with the heading "Address", we don't really need to see a column heading for this one. To hide the column heading, use the "Hide" switch.
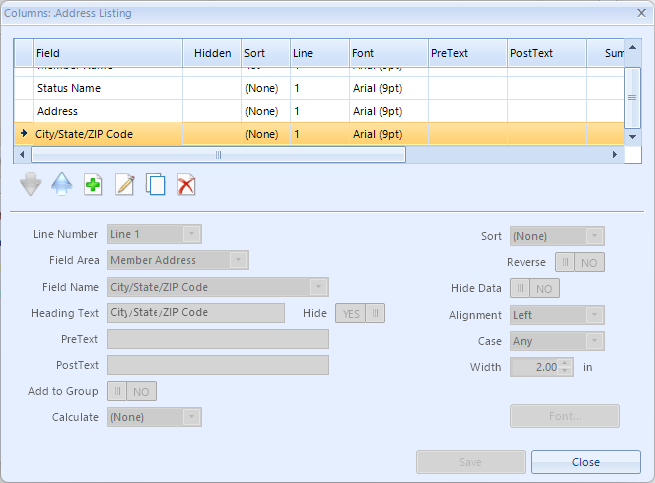
12.Save this, and the Columns window should now show several completed columns.
13.Click Close.
14.Back on the User Reports window, click Preview.
15.Increase the size of the Preview window so the entire bar across the top is visible.
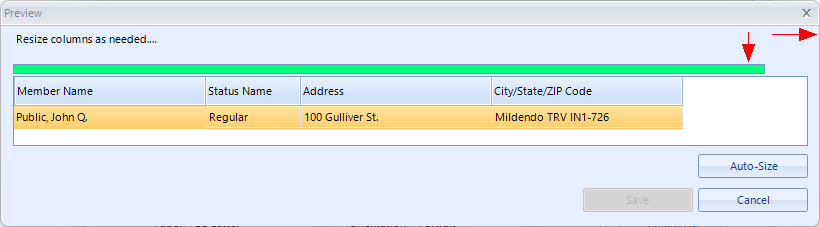
16.Resize individual columns as desired. The sample data displayed may or may not accurately represent the type of data you have. You can also click "Auto-Size" and the system will attempt to proportionally size each column to fill the space.
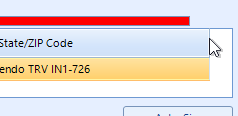
If you size a column wide enough that the available space is exceeded, the bar will turn red.
17.When you're finished, click Save.
18.Back on the User Reports window, click Save to save the finished report.
19.Click Close to return to the main Reports window.
20.Click Open in the Report section of the Ribbon.
21.If you named your report with a leading period, it should appear at the top of the Member Reports list.

22.Select the report and click Use.
Note: You can also click "Toggle Favorite," so your report displays in the My Favorites tab in the future.
23.When the Settings window opens, add any desired search criteria to limit the records that are shown on the report, or just click "Run Now."
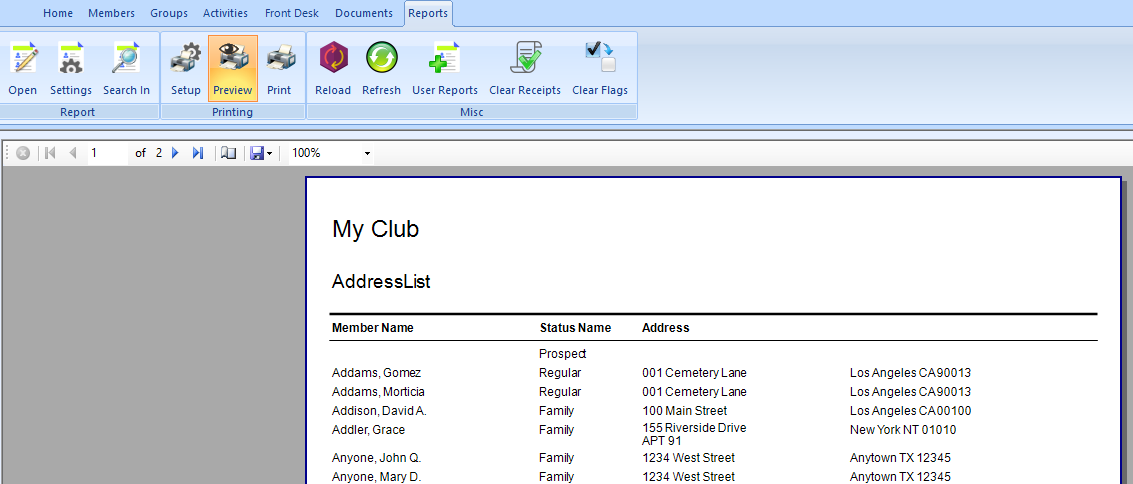
24.The new user report displays just like system reports.