Tables can be inserted virtually anywhere in a document, and can even be inserted within other tables. By default, the grid lines that identify the borders of the table (for editing purposes) are displayed, but they can be turned off with the Grid Lines menu option.
Note: A table cannot be inserted when text is selected (i.e., it can't be used to replace selected text). In addition, if a table is inserted immediately above or below an existing table, it will become part of the existing table. There must be at least one line of normal text between tables.
Using Tables
1.With the Document displayed, place the cursor in the text where the table should be inserted, right-click and then choose Insert > Table.
2.On the Insert Table window, specify the number of columns and rows the table should have.
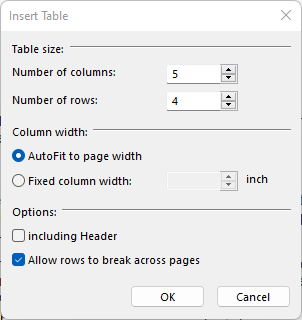
3.Click OK to insert the table.
Deleting a Table
1.Right-click anywhere in the table and choose Delete > Table.
Modifying Table Attributes
Any set of cells can be modified at once, as long as the entire set of selected cells are within a single table. i.e., if the table contains another table within it, you cannot select part of both tables and modify them at once.
1.Select the cell(s) to be modified, then right-click and choose Format Table.
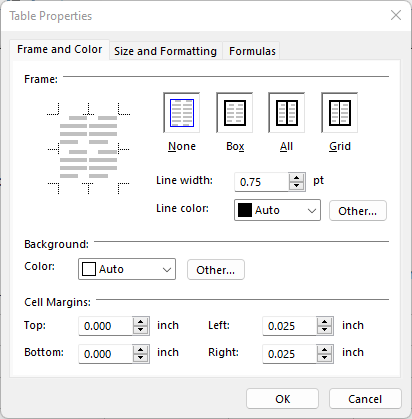
2.The Table Properties window includes several pages of settings:
•Frame and Color - enables you to change the border around the selected cell(s), background color, and the amount of space between the edge of the cell and the text within.
•Size and Formatting - enables you to set cell height, alignment, and whether the row can break across pages.
•Formulas - enables you to define a formula in a cell
3.Make your changes, then click OK to save.