Styles allow you to create a consistent look within your document by assigning a name to a specific set of format settings. i.e., "14pt bold Arial" might be settings for the "Heading 1" style.
Once your styles are ready, you can quickly assign them to text in your document, and that text will be changed to match the style.
Styles can include formatting for the font, paragraph, tabs, and numbering.
Using Styles
1.With the Document displayed, right-click anywhere in the document and choose Styles.
2.The Styles dialog will open, showing the currently defined styles. If you only need to apply an existing style, select it and click OK. Otherwise, you can choose to add a New style, or select a style in the list and choose Modify or Delete.
3.Click New.
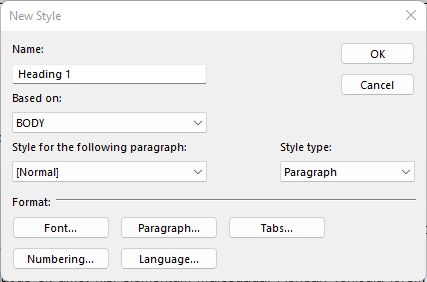
4.On the New Style window, provide a name for the style.
Note: In this example we are creating a Heading 1 style, and we want the following paragraph to revert to "BODY". i.e., after we type our heading and press return, the system will automatically use BODY as the style for the next paragraph, rather than create another Heading 1 paragraph.
5.Click any of the buttons in the Format section to modify additional settings for the style.
6.Click OK to save the style.
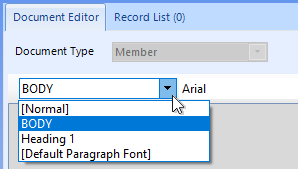
7.The new style will be listed for easy selection in the Style list on the document editor.